November 30, 2012

Restyled Vintage in Focus Magazine

I have some exciting news I can now share!

I was approached recently by Port Macquarie Focus Magazine who wanted to interview me along with my market buddy and good friend Suzi.  The issue has just come out today and I am still waiting to see if I am granted permission to publish it on my blog, so in the meantime, here is a link to the online version of the magazine if you are interested in reading it :)

We appear on page 39.


The interview was conducted via email and I was asked to submit a few photos.  I got a bit carried away and submitted 39, lol!  It was interesting to see which ones she picked, but I think the article looks great, I am very proud of it :)

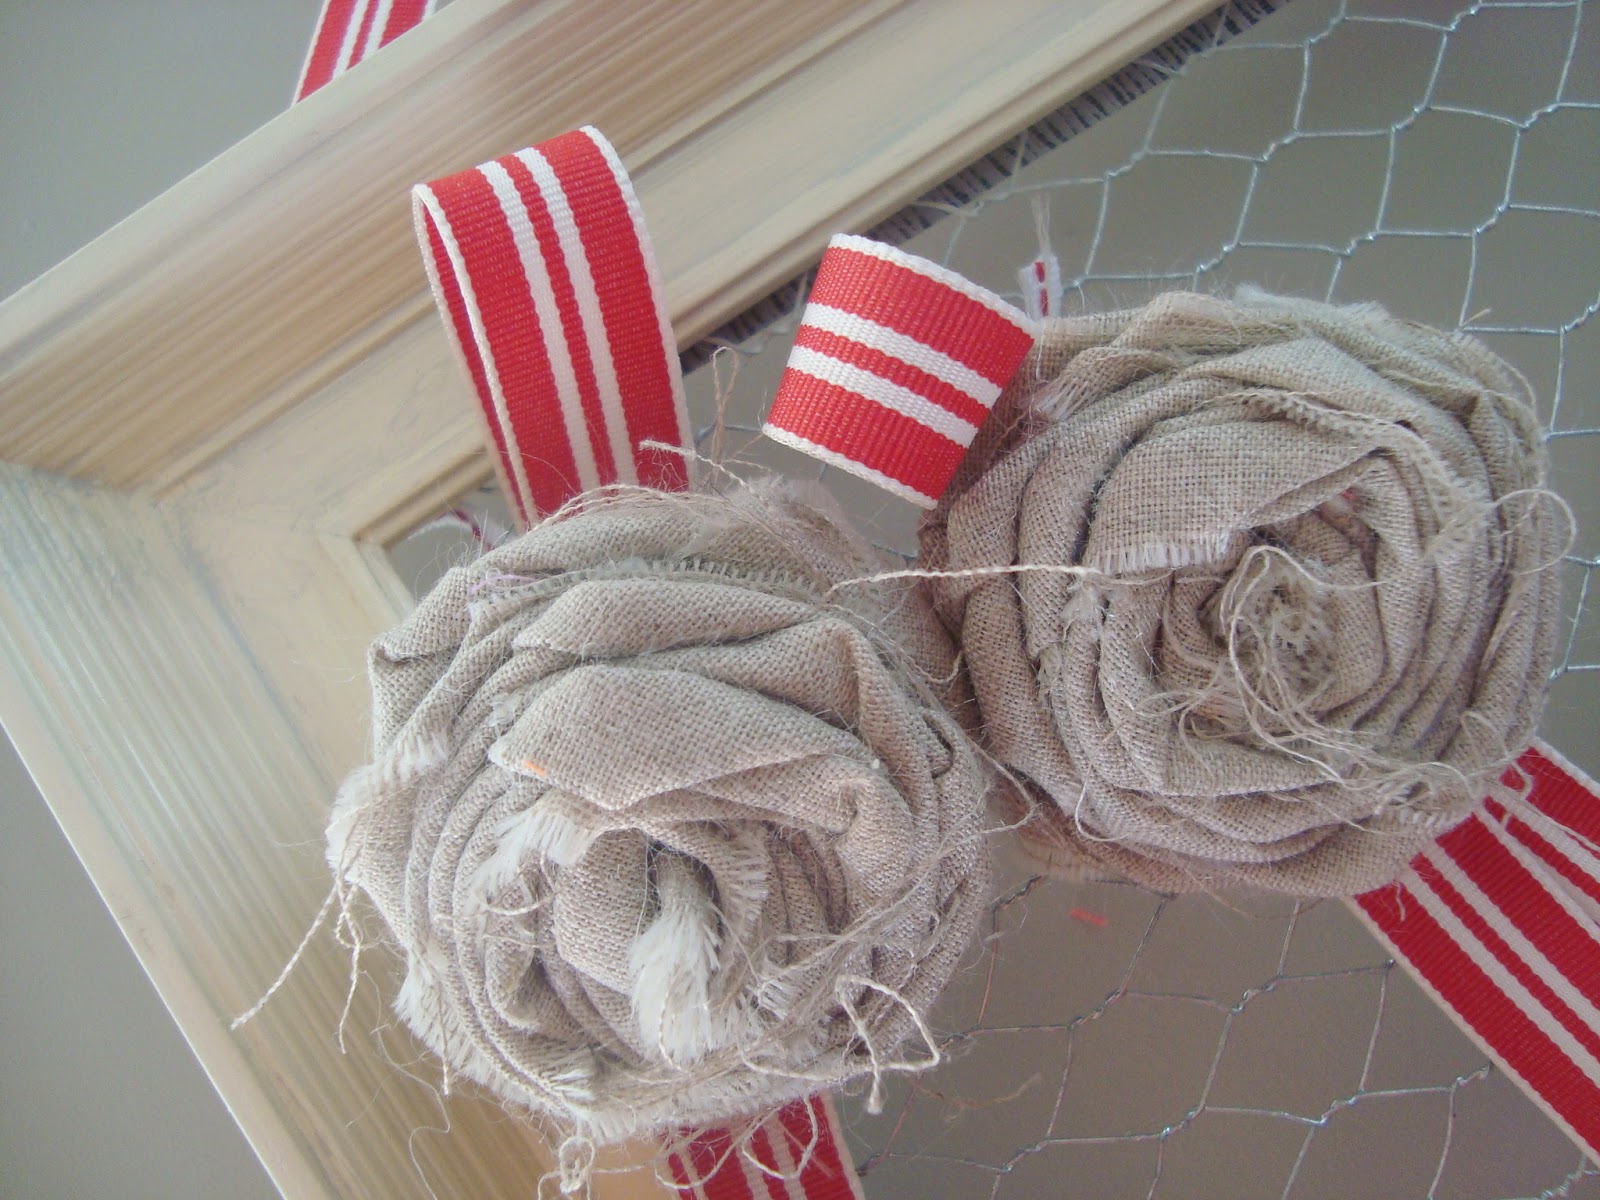
The photo above made the cut, and below are some of the ones that didn't...

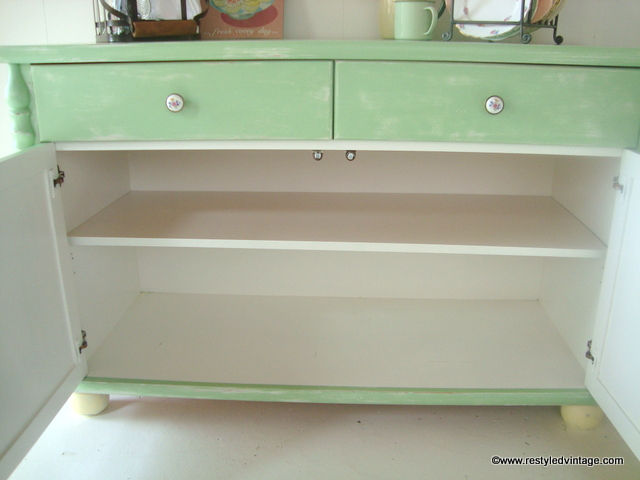
Above is the 'Duck Egg Distressed Hutch' that I talk about in the article.

Well that's it from me for now, I am going to put a coat of paint on a hall table that I have been fighting with all week.  It was previously waxed and I have been battling to strip it all off in order to be able to paint it (and more importantly, have the paint stick!)  It is lucky I am stubborn and don't give in easily...it took a lot of time, sweat and frustration (and paint stripper, thinners, and sandpaper!) but I am showing that table who's boss!

We have had some hot days here and it looks set to continue over the weekend, so for the all the Aussie dwellers reading...stay cool!

November 27, 2012

Vintage Green Sideboard

If you've been reading my blog for a while you're probably aware that I have a bit of a thing for that perfect shade of 'vintage' green. It seems I am not the only one - I get emails every week asking for the name of the green paint I use.  As a business decision I choose not to share this information, but what I tell people is to find something that is the shade you are after (fabric, vintage china, even a picture in a magazine), and take the item to your paint shop where they should be able to colour match it for you...then you have your own personalised custom paint colour in just the right shade :)

I had been using the same shade of green for quite a while, and decided that it was time for a change.  It is very different to the 'old' green when put side by side but the overall effect is the same.  Colour is a funny thing like that.  You don't need to use exactly the same shade as someone else has to get the same effect.

I found this unloved little sideboard a couple of weeks ago and or course saw the potential...
It was pretty beaten up but I loved the detail.  Once it was home I sanded it right back to bare timber (it is solid pine).
Looking better already!
It needed a good clean inside...has this been inside someone's home like this, I wonder?
Here it is, all stripped, sanded and cleaned ready to prime.
I painted the inside with white Aquanamel to freshen it up and make it easy to wipe clean.  It has a middle shelf which is also painted white.  
TIP: when painting a shelf, or a door where you won't see the top and bottom edges, hammer in a couple of nails to each end, then use them to rest on two saw horses while you are painting them.  Once you've painted one side you can flip it over using the nails as handles...makes your job twice as fast and means you don't have to rest your freshly painted side down on anything while you paint the other side :)
Here it is all finished.  I put some sweet little floral knobs on it, I think they finish it off perfectly.
I have more of these available to purchase in my online store
This sideboard is for sale, details in my online store.  


November 1, 2012

Before & After: French Country Style Dining Table


I've had this table for quite a while...I kept finding handy spots for it in my own home as a sewing table, a desk, and a second dining table before one day a couple of months ago I decided its time had come for the makeover I had been envisaging ever since I spotted it for sale.

I started off by stripping the honey coloured varnish off the tabletop...always a pleasure to get rid of this!

In the above shot you can see the nice wide planks that the tabletop was made out of...I love the character of these.
For this stripping job I used a heat gun and sander to remove the varnish fully.  Sometimes I choose to use paintstripper but I find the heatgun quicker and easier (and cheaper!) for some jobs.  Heatguns are particularly good when the surface you are stripping is flat and has a fairly thick even coating on it.  Obviously paintstripper is better for more detailed pieces...in the last couple of weeks I stripped an ornate sideboard right back to bare timber and that took lots and lots of paintstripper...too fiddly for the heatgun!
I didn't take photos of the middle part of the process, but once the tabletop was stripped, I flipped it upside down and primed and painted the legs, before lightly distressing them.

To get the whitewashed look on the tabletop, I used the process I developed and explained in this post.

Here it is, all done...
The table goes really well with these industrial style stools that I had reupholstered in a taupe gingham oilcloth.
The table legs are the same colour as the sideboard in the background 
(as at 1/11/12 this is still available for sale).