Yes this is my second post for today and I've only just published the other one...I could schedule this one for later but I am so excited about it, I just want to show it off!
But first, a little bit of reflection...skip to the photos if you want to, lol!
Today was the the last day of Term 3 for us in Australia...wow where has the year gone, seriously!
It has been a big year for me - I enrolled in, and completed some study for the first time since I left school...no university degrees for me, that just wasn't my thing...I wanted to get out and work! So it was straight from school into a bank for me, where I stayed for 17 years, met some fantastic lifelong friends...and my lovely husband!
To complete the requirements for the study I undertook, I had to do a work placement...where they loved me and offered me a job! My second job ever, and the first time I have worked outside of home since having my children. At this stage it is a casual role, which suits me fine for now...leaves me lots of time for my family, and furniture of course :)
I feel very proud of myself (and a bit blown away) that the goal I set earlier in the year has come to fruition. It was kind of tiring heading out to night school twice a week for six months...but it got me out of the house at witching hour...so it had its benefits too ;)
Anyway back on track...back to the furniture! Here's a before shot of a lovely buffet I bought last week (at the same place I got the
hutch dresser from that I just posted about).
I just love the shape of this piece...I bought it at an op shop (thrift store)...can you believe the things some people get rid of?
What you cannot see in the photos, is how filthy it was, it will never cease to amaze me how people get furniture in some of the states I find it in!
Since my recent love affair with
French Linen Chalk Paint® is still in the honeymoon stage, I had to put it on something else, and I thought this buffet was the perfect candidate. I had wanted to keep the
French Linen Hall Stand, but it just doesn't work in our home. This buffet would, though, so I decided it would be a keeper...it's a long time since I have painted something for myself to keep, so I thought it was about time :)
After thoroughly cleaning the buffet, I painted three coats of French Linen Chalk Paint®, then distressed it by hand using my favourite 3M Flexible Sanding Sponges in Fine and Superfine. I cleaned it again to remove all the sanding dust, then waxed using Annie Sloan Wax in Clear.
*I thought I would point out that I believe that Annie Sloan recommends waxing first, then distressing. I have never done it this way, as it sounds back to front to me...I imagine it would clog up your sandpaper/sponge with wax? You'd need to work harder to sand through the wax before hitting the paint layer, then you'd need to wax again. The only 'benefit' I can think of is that it would create less dust doing it her way, but I do all my distressing outside (wearing a good quality mask) and blow the dust away with my air compressor blower so it's really not an issue for me. I'd love to hear from anyone who does it the recommended way...does it clog your sandpaper? Do you get the look you are after?
Here is the buffet now, all fresh and French country style. You may notice I left my bunting out of these shots, for a change ;)
I just love this colour. It is much better in real life than in photos, too.
There go my favourite crackle knobs...again...I just think they look great on everything!
My parents bought me this zinc container back from South America in 2000, after they lived there for a while. This was a long time before these sorts of pieces were available in homewares stores locally.
This willow heart was a Christmas gift from my husband and children a couple of years ago.
The flowers are fake but I still think they are lovely :)
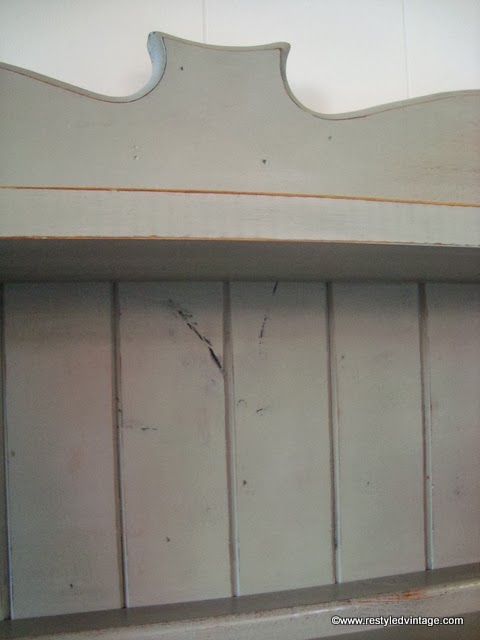
I love the shape of the top part of the buffet.
As I've mentioned before, our home has the kitchen and main living areas upstairs, which makes it almost impossible for me to drag finished furniture into the house just to 'see how it looks'. Which is usually just as well or I'd never want to sell any of it! This piece will most definitely be taken upstairs tomorrow, where I have the perfect spot just waiting for it.
And once it's up there, it's not coming out again!


.JPG)


.JPG)
.JPG)
.JPG)
.JPG)


.JPG)
.JPG)
.JPG)